You have three options to open up the Event Admin.
- From your side menu bar under Administration

- From the Admin Dashboard
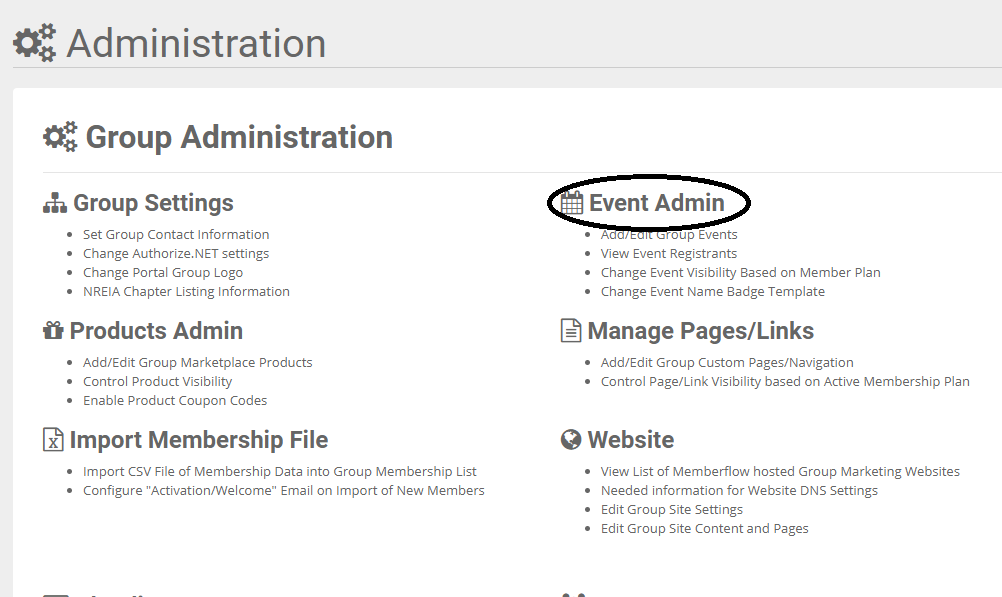
- Or from the Events page in the top right corner
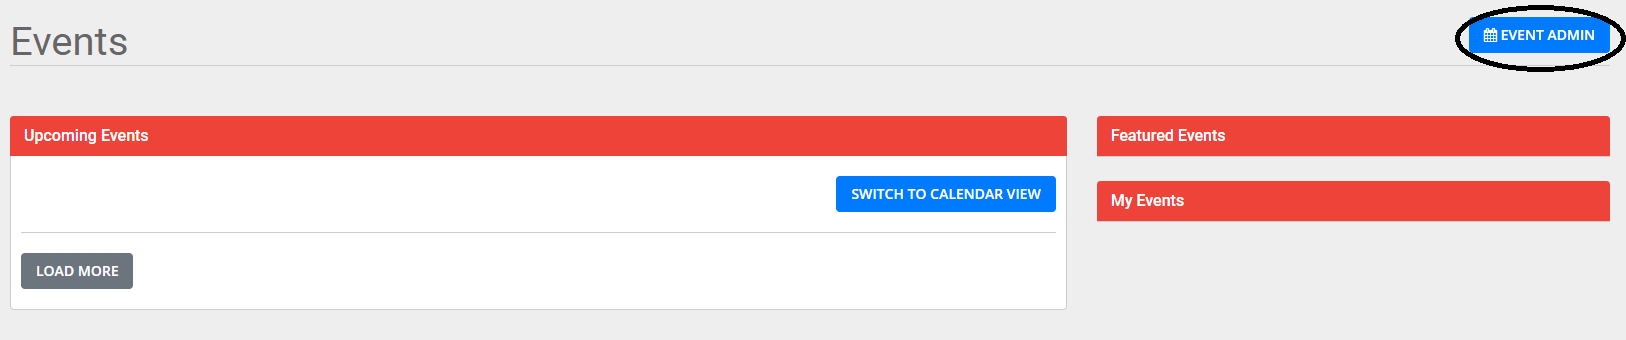
Once you are in the Event Admin click on “Add Event” on the right side of the page

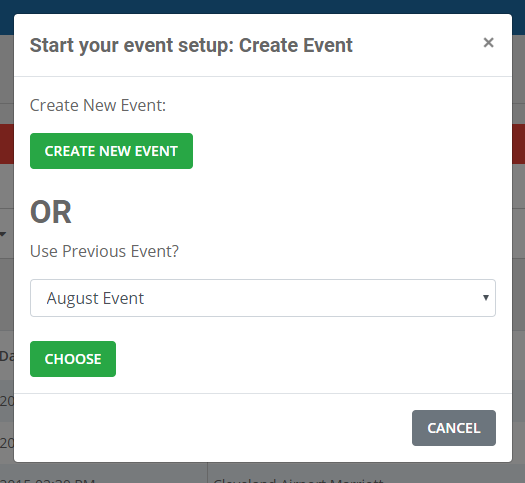
It will pop up a window, here you will select “Create New Event” or use one of your previous events as a template.
Step 1: Event Details - Add the basic information regarding your event. In the Description box, put a brief description of your event – this will display on the event page prior to the member clicking on the event for more info. The content box is where you add a longer description for your meeting. Once you have entered all information, hit NEXT.

Step 2: Event Venue – This is where you add information regarding the venue that is hosting your event. When you are finished, hit NEXT.

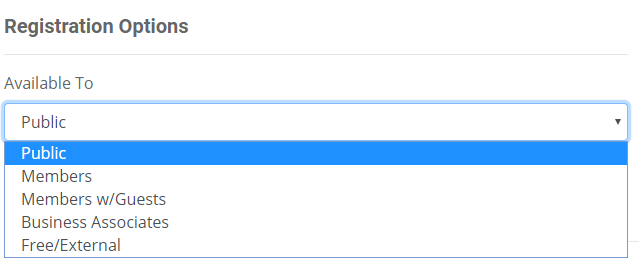
Step 3: Tickets – This is where you set up your registration options, Add-ons, and offer coupons.

In the “Available To” drop-down menu are several options. This can control whether the event is a free event or if it is a member’s only event.
Step 4: Meeting Details – This is where you enter the Event Leader information. Sponsors/Speakers are locked until you save the event. When you are finished, click the “Create Draft” button.

Once you click the green “Create Draft” button, you will arrive at the Event Review page.
Event Review – Your event has now been saved as a draft. You can now add the Sponsors/Speakers for the meeting.
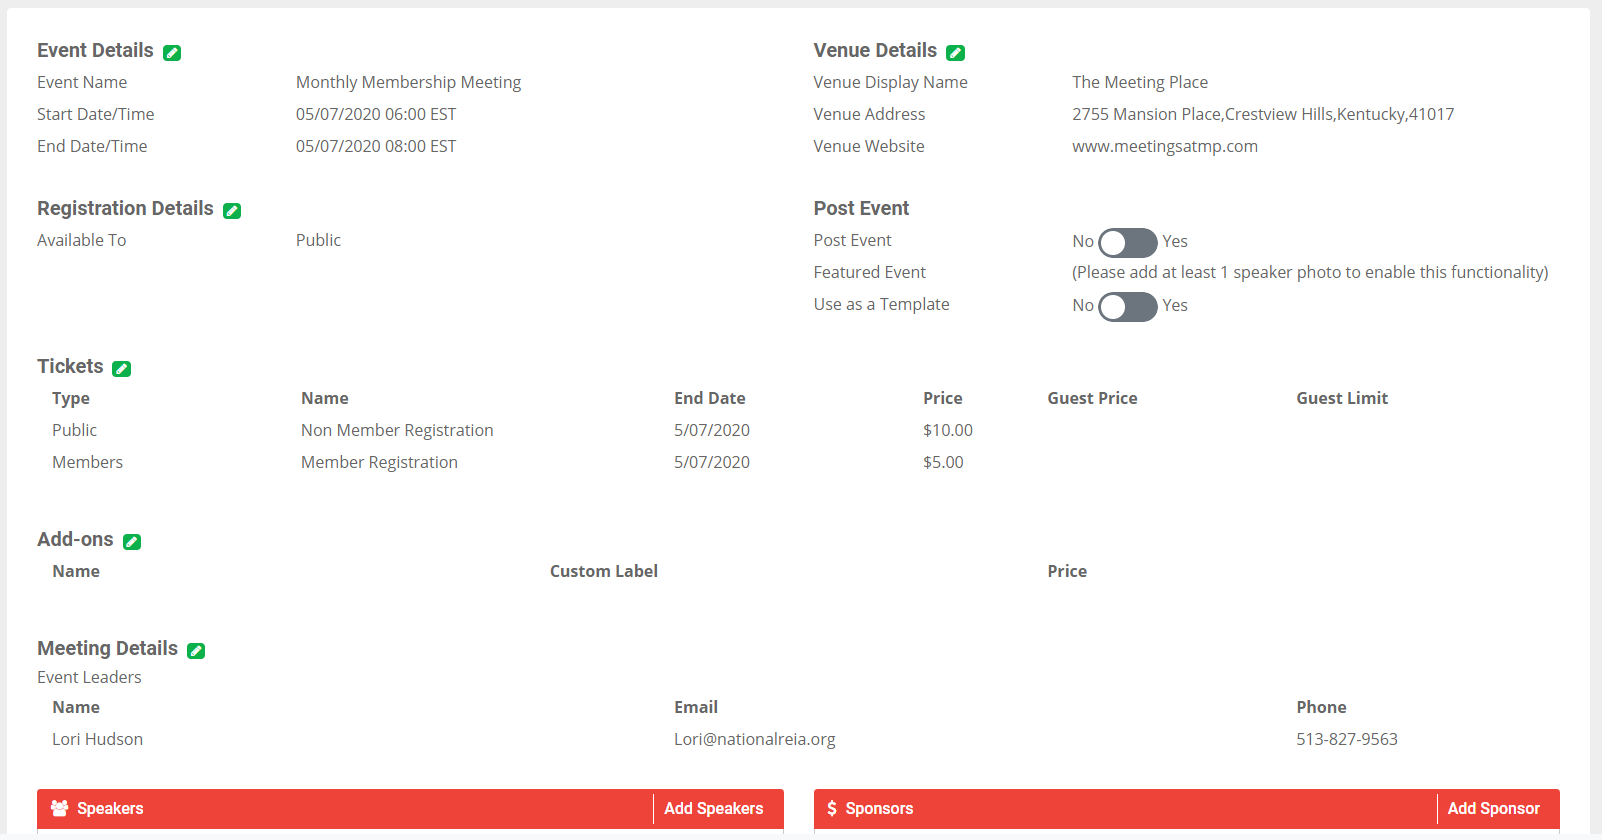
When you are ready to post the event, you will click on the toggle to “Yes”
If you would like to show this on your Featured Events list – this option is only available if you have 1 speaker photo uploaded), click on the toggle to “Yes”
If you would like to use the event as a template for upcoming events then click on the toggle to “Yes”.

After you have reviewed the meeting details hit "Save/Exit".
Congratulations! You have posted your new event!
0 Comments